When researching how to make a bow and arrow, you will come across a vast amount of information on the different materials and styles that can be used. From traditional wood staves to modern composite materials, the options are nearly endless.
But you might be overwhelmed by the variety of materials and styles available. Not to mention, purchasing a high-quality bow stave can cost over $100 and waiting for a stave to mature into a usable bow can take years. But fear not!
With our guide, you can learn how to turn a piece of wood into a fully functional bow in just a few days. So don’t put off your dream of making your own bow and arrow any longer. Start learning with us today and discover the satisfaction of crafting your own hunting or recreational weapon.

Get the Proper Tools
Assuming you have a clear idea of what you need, your starting point would be a wood plank.
The first step in making a traditional bow, arrow, or archery equipment is selecting the appropriate materials. To make a bow, you need resilient wood that can bend without breaking yet quickly returns to its original shape.
Select robust growth, shoots, and saplings from woody coppice near the ultimate diameter you desire for your arrows. You can carve the stave with a drawknife, rasp, cabinet scraper, sandpaper, or power tool in the comfort of your own home, but all you need is a decent knife out in the woods.
The best bow stave for same-day shooting is one that is completely dry but not rotting. You may improve the quality of your future bow-making efforts by cutting some live wood and letting it cure for a few months. Pick a solid hardwood, such as hickory or black locust, for your bow. Select a bow stave with a diameter of about 2 inches that is pretty straight and devoid of knots, side branches, and twists. Get it cut to a length of around 6 feet. The less the bow must flex to accommodate your draw length, the longer it will last.
Mark Things With Charcoal
Using a bit of charcoal as a draw knife, you may make a gentle marker to help you draw the lines of your bow and keep your carving on track.
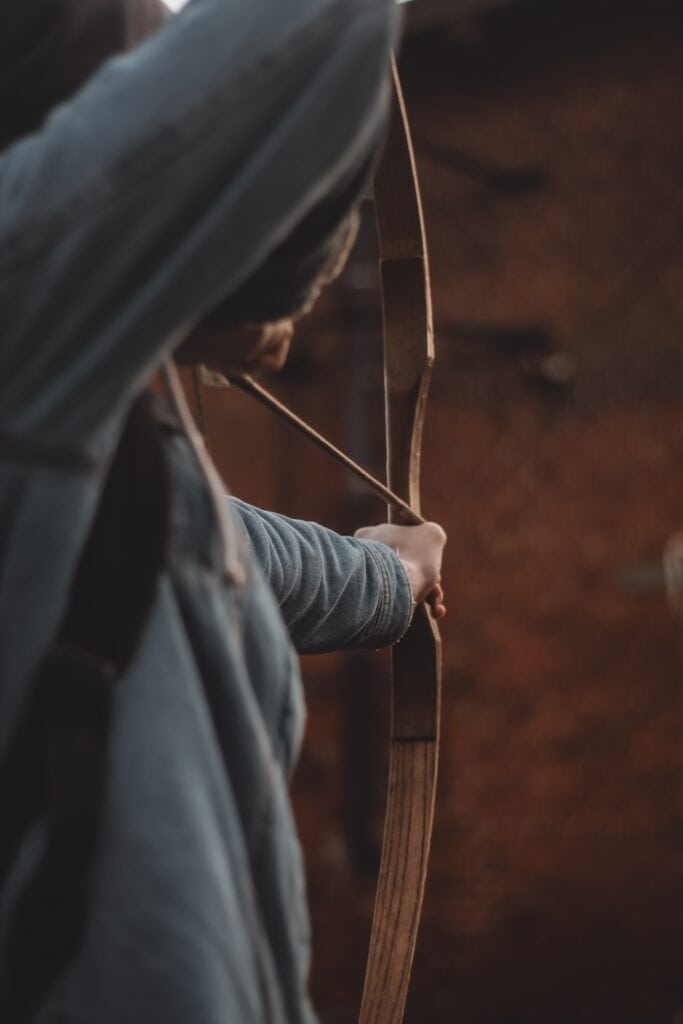
Bows have many components, although they are carved from a single piece of wood. The bow will have its own upper and lower limbs in addition to the limb you cut it from, as well as a grip, a back, and a belly.
The most essential skill for a bow builder is understanding the belly and back of a flexible bow stick. Every young tree or branch has a preferred bending direction. How and where you carve the bow depends on this. Determine the natural bending pattern of the bow stave you’re considering creating by making a slight bend in various ways. Before carving, make a mark on the inside of the curve with the stick. And this will be the interior of the bow, the side facing the shooter rather than the side facing the target.
Carve the Bow
While certain branches and saplings are already uniform enough to be used as bows without any trimming or carving, you will need to shape most sticks in some way.
Start making a homemade bow by paring away material from the limb’s belly, where it doesn’t bend as much, and leaving it where the bow bends. Don’t cut any of the limbs down to size; only the belly side. Making the limbs bend evenly down their length is essential at this point. Remove wood cautiously and examine the bending of the limbs often as you go. Use standard carving cuts or a tiny baton and knife for a more efficient chop.
There should be minimal flex between the grip region (in the center of the bow) and the limb tips. Staves with a large diameter will need extensive carving, whereas those with a small diameter may just need minor modifications. Hone each limb until it’s bending is consistent down its length and mirrors that of the other limb. Tillering is the last process of shaping, and it is essential.
Creating a String Notch
 You must cut a notch for the bow string before finishing the bow, and you must do this carefully so as not to mar the bow’s back.
Carefully carve or file tiny cuts on both sides of each point of the bow so you may thread the string through, but avoid cutting into the rear of the bow. They should only be dug to the depth necessary to secure a bowstring.
If you dig too far down, you’ll weaken the bow and maybe shatter it. Cutting a square tab at the bow’s tail is another alternative; I use this technique often. A saw is all that’s needed to make this cut, and the resulting loop in the string is rather sturdy. It is possible to increase the durability of any notch.
Each bow limb’s tip may be wrapped in sturdy cordage or encased in a protective sleeve to prevent damage. Historically, archers would use horns as a finishing touch, but in the modern survival context, string wraps would do just nicely. When the bow is about halfway complete, a notch may be cut for the string so that you can gently bend the bow to assess where additional carving is required. As you work on carving the bow, avoid jerking back too much on the string.
DIY Glue-Making
Making your superglue is easy, and superglue is a helpful item to have in your survival pack for many purposes beyond repairing your archery equipment.
To attach an arrowhead to a shaft, only a dab of adhesive will do the trick. If you forget to bring any super glue or run out, there’s a backup plan. Our forefathers have used a glue made from pine sap and the sticky sap of other needle-bearing plants for millennia. You just need a container in which to boil the sap.
Gather your sap into the container and melt it down by heating it near the fire. In addition, you may add charcoal powder to boiling sap (like gravel in concrete) to enhance volume and function as an aggregate. There’s no need to worry if the heated pine sap ignites.
You may put it out by simply covering the container. It merely takes a few minutes to cook, and then you can use it immediately or let it cool and solidify for later. Simply reheat it and apply it to hot surfaces. It’s recommended, for instance, to warm up the pitch, the point, and the arrow’s shaft.
A heated arrowhead may be inserted into the notch in the arrow shaft with the help of a little pitch. Wait to move it until it has cooled and hardened.
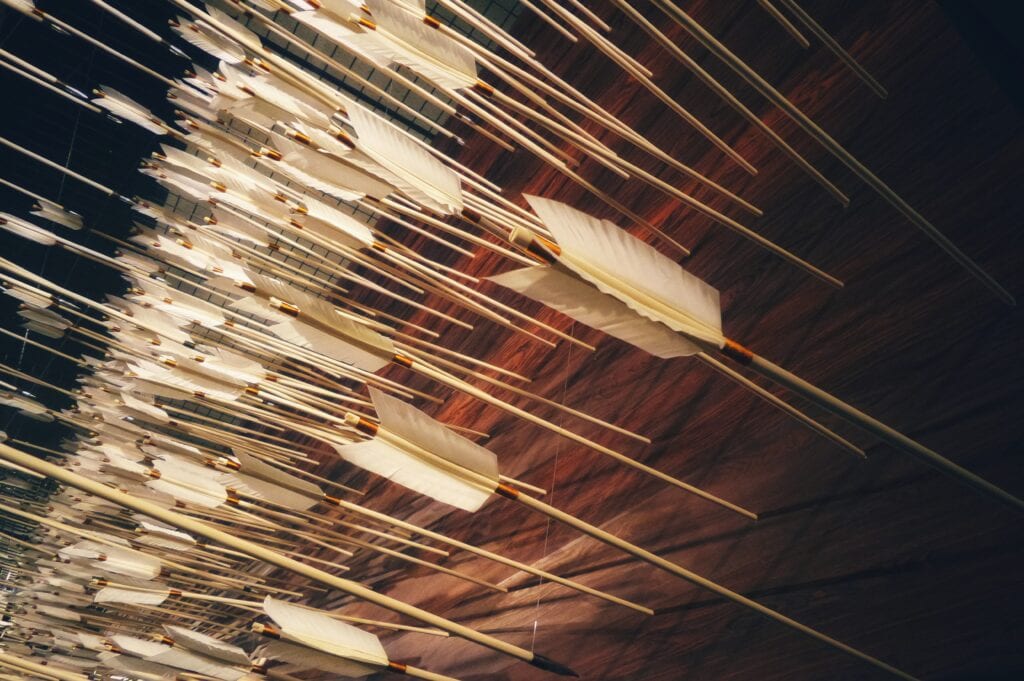
Construct Some Arrows
You can fashion bows from a single wood branch, with feather fletchings and a pointed glass arrowhead.
In addition, fast and malleable carbon fiber arrow shafts are available, but if you run out, you can always use another material.
Get started by gathering straight branches or saplings at least 30 inches in length with diameters ranging from 3/8 to 1/2 inch. They, too, are most effective when made from dead and dried wood, although “green” wood may suffice in a pinch.
Make sure they are trimmed and straight, then cut a notch into either end of the shaft at the desired length. The “nock” end must be tight on the bowstring, while the arrowhead end must be a perfect match for the projectile’s tip.
A saw works well for making these notches. Avoid slicing the arrow shaft if at all possible. Fasten the feathers to the shaft and choose an arrowhead or tip from the available options.
Take care never to fire a handcrafted wooden arrow from a contemporary composite bow. We add this warning because injuries are possible due to the great force and speed of a compound bow, which may cause wooden arrows to burst upon release.
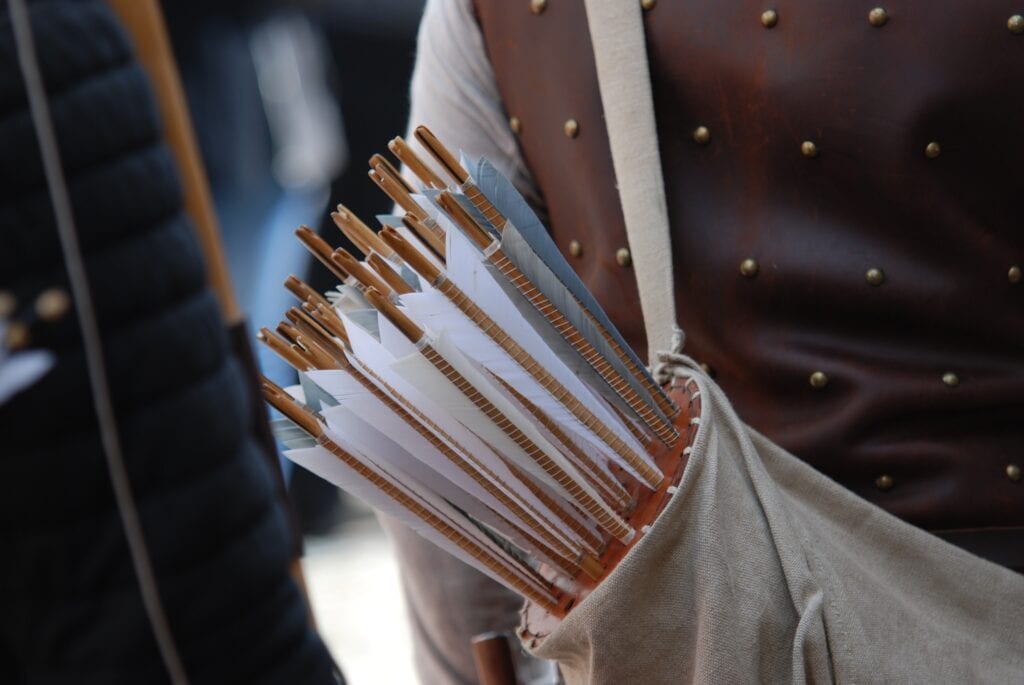
Use Duct Tape as Fletching for Your Arrows
 You may use duct tape to mend or replace a damaged arrow fletching.
In a survival situation, you won’t always have access to the best tools for the task. However, people who keep duct tape on hand have access to a tool they can use for a wide variety of uses. Consequently, duct tape may do wonders as an arrow fletching replacement or for mending ripped fletching on already-existing arrows. You may use duct tape to create “feathers” for an arrow by wrapping the tip of the shaft in two layers of tape and then trimming away the excess.
There, you have completed the task. Without feather fletching, your arrows will not go as far as they would with this method, but they will still be more accurate than if you did not fletch them at all. Try it out; you may be impressed by how simple this method works.
In theory, you may twist a bowstring from sturdy plant fibers, but the process is time-consuming and yields inconsistent results. Use 550 wire instead.
You may use 550 cables, much like duct tape, for a wide variety of demanding tasks. You might also use it as a bowstring because of its appropriate thickness.
Bowstrings shouldn’t extend out of the box; thus, this is a problem. When a string stretches, it loses part of the power that the bow generates when fired. They may lose a lot of that extra length if you twist them. Make a bowstring by securing loops of 550 cord at either end with bowline knots or similar reliable knots. You need to cut bowstrings two inches shorter than the bow itself. When you finish stringing the bow, there will be a space of about 5–6 inches between the string and the grip.
Craft Arrowheads
You can achieve arrow-making with any rigid material, including metal, rock, glass, or even bone. In addition, you may repurpose beer bottles and other trash into surprisingly effective arrowheads with a little effort and time. Carefully use a tiny rock or mallet to chip your item into a point and connect it to the arrow’s tip. To do this, you may insert the arrowhead into a notch you’ve cut in the wood and secure it to the shaft with a string or rope.
Primitive Bow Finish
Native American bowyers often used melted bear or deer fat as a final touch. The Indian bowyer would hang or place his finished work near the lodge fire so the fat might melt and penetrate the wood faster. Apply the mixture while it’s still warm, and then position the bow over my wood stove so the increasing heat can drive in the oils. Be careful not to burn your bow because, on the one hand, on the other, you have wood and an accelerant.
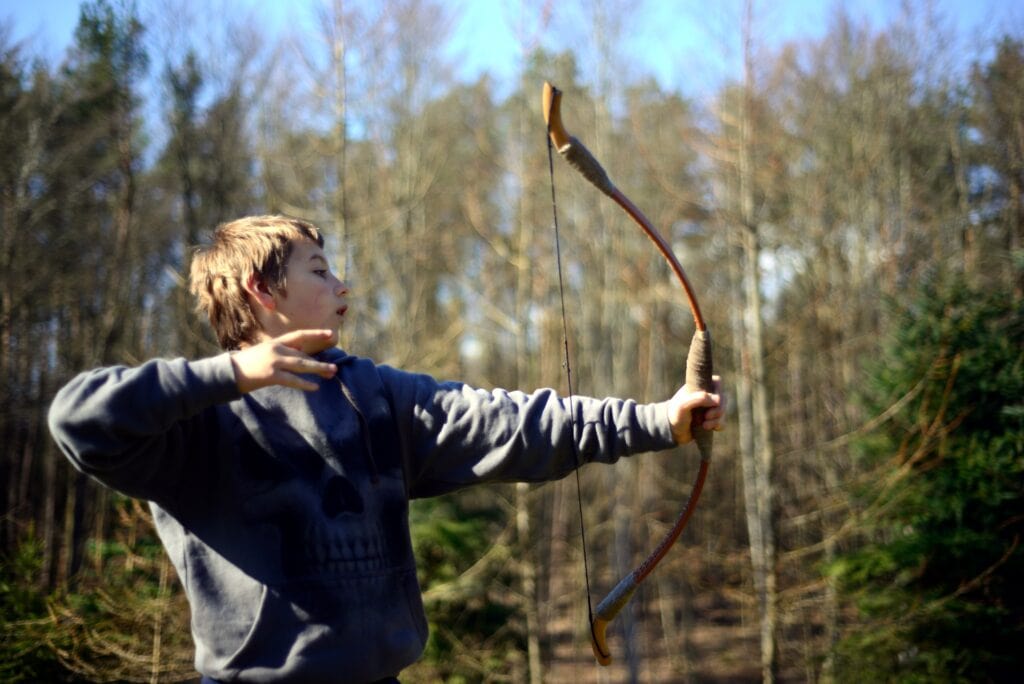
The longbow is ready for use as soon as you finish this task. Use caution initially to ease in your new hunting equipment. But sometimes, no matter how careful you are, a brand-new bow will break. It’s more likely that the wood was flawed than you did anything incorrectly, but in any event, you’ll just have to try again, perhaps with more success. Plus, it is part of the learning process if you are a beginner.
Frequently Asked Questions
1. Is it preferable to use a light bow or a heavy bow?
 Keep in mind that heavier bows have a greater tendency to stay steady if that’s a factor in your decision to use an ultralight bow. Weaknesses in shooting form may be accentuated when using a lightweight bow. As with any bow, adding attachments like quivers and sights may throw off the center of gravity, but this is most noticeable on lighter bows.
2. Can you recommend an excellent wood to create a good bow?
Composite materials, made by laminating different types of wood, fiberglass, or carbon fiber, provide the most outstanding results. You can create bows from red elm, cedar, bamboo, or exotic woods.
Choosing the proper log is crucial. The sturdy wood makes homemade bows very strong. You can create bows from a wide variety of woods, including red oak, black walnut, osage orange, ash, yew, etc. There are some unusual and hard-to-find items on the list. Indeed, you won’t get the best red oak or maple at the home improvement shop, but you may find some excellent wood there.
Let’s say you’re at Home Depot (as an example) and staring at a stack of wood; what do you search for? In such a case, it’s best to search for planks with a very straight grain. There are no turns or twists. You could still create a bow with them, but it would be fragile and likely to shatter.
Alright, you have located an ideal slab of red oak. The board is 6 feet in length and 8 inches in width, the grains are straight, and it costs less than you could have imagined. You examine the board and find that its grain runs straight for the first six inches on the left, but the right two inches contain knots and wavy grain. We’ll use the remaining 6 inches, which can make three bows. Is it possible to fashion a bow from a tree branch you discover in the woods? Yes, the same rule applies: the wood must have a straight grain and no knots.
3. Does the bow length make a difference?
The draw length, not your height, is the most critical factor to consider when selecting a bow. One’s draw length positively affects their height. On the other hand, your draw length is where you should start when determining your bow’s length.
4. How far can you accurately shoot a bow?
 The bow is short-range hunting equipment, despite contemporary bows being able to send arrows up to 400 yards at speeds surpassing 200 miles per hour. Around 30–40 yards is the furthest you can go under normal conditions. If you hold the arrow straight, there’s a good chance that an arrow shot from that distance will go straight through the target animal.
Technology has unquestionably enhanced the efficiency of contemporary bows in this regard. The bows of today are vast improvements over their historical predecessors. These bows allow for faster arrow velocity without sacrificing accuracy. Modern broadheads have improved accuracy at high arrow speeds because their blade surfaces are smaller.
5. What makes shorter bows more efficient?
The primary change is a reduction in the brace height of the bow. This parameter depends on the force required to draw the bow to its full length, and reduced bracing height results in a long draw stroke.
6. Does weight affect the rate of an arrow’s descent?
There is a greater rate of descent for heavier arrows due to their slower speed. So this means you need to double-check their distance estimation or, better yet, use a rangefinder to ensure they’re spot-on.
7. Which material makes the strongest arrows?
Aluminum. When looking for the finest arrows, most professionals start with aluminum varieties. These are more robust and dependable than wooden or fiberglass arrows, and they come in a wide variety of styles, colors, and designs to suit your needs.
Final Thoughts
Making your own bow and arrows is a skill that isn’t for everyone. As you can see, the job needs a bit of effort. The first few bows and arrows you manufacture will be challenging, but you’ll improve with practice. You may need to break a few before you make one that works. If you keep at it, you’ll find a solution. And you’ll know you accomplished it the moment it happens.
If you push yourself even further and try hunting with your weapons, you will encounter several difficulties. In the same way, you’ll attempt, fail, learn, and try again as you make the bows. Then, on a cool morning in October, you’ll have your very own wood bow in hand and be following a brilliant red path.